7 Tips for Choosing Colored Thermal Labels
Colored Thermal Labels are no longer limited to simple visual decoration. They now support product identification, warehouse routing, promotions, and brand recognition. A red warning strip, a blue cold-chain marker, or a green clearance label can change how quickly workers understand a package. Small color choices matter.
Industry data supports this shift. Smithers’ The Future of Printed Labels to 2028 identifies continued investment in digitally produced and customized labels. Mordor Intelligence’s Thermal Labels Market analysis also highlights demand from retail, logistics, healthcare, and manufacturing. However, market growth does not guarantee a good label. Poor color contrast can weaken barcode scanning. Heat, moisture, friction, and adhesive failure can create expensive rework.
Printing-industry educator Frank Romano has said, “Color is information.” That principle is useful when selecting Colored Thermal Labels. Color should guide action, not merely attract attention. GS1 barcode guidance and ISO/IEC 15416 testing also remind buyers to verify print quality under real operating conditions. A label that looks sharp under showroom lighting may fail beside a freezer door or dusty conveyor.
This guide presents seven practical tips for choosing Colored Thermal Labels. It considers material, printer compatibility, color consistency, adhesive performance, barcode readability, environmental exposure, and total cost. Some decisions will remain imperfect. That is normal. A vivid label may not be the most durable, and the cheapest roll may create hidden labor costs. Testing samples in the actual workflow is still the most reliable step.
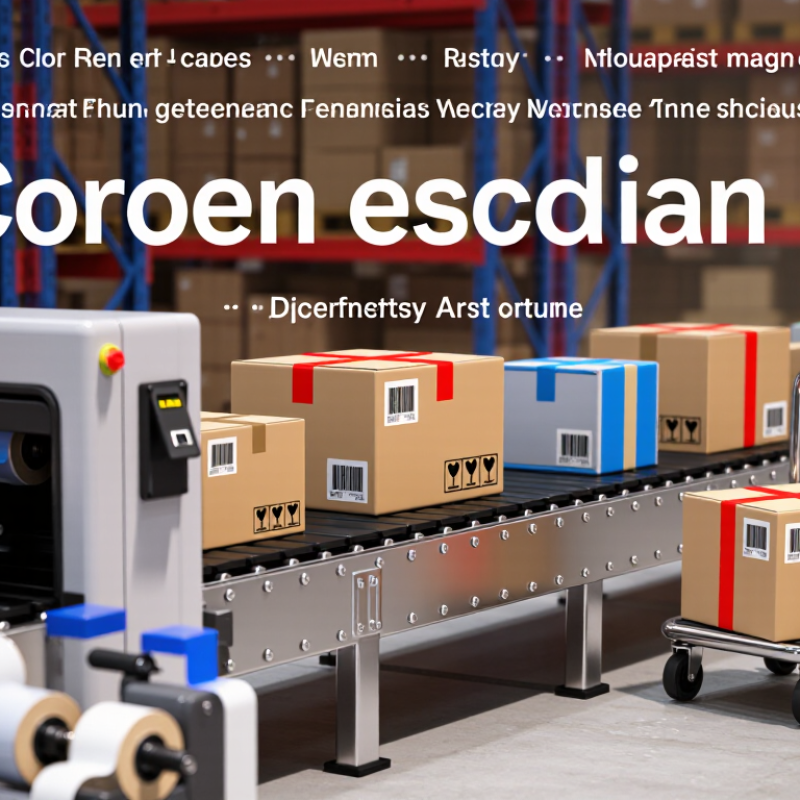
Understand Colored Thermal Label Types and Printing Methods
7 Tips for Choosing Colored Thermal Labels
Understand Colored Thermal Label Types and Printing Methods
Colored thermal labels are not one single product. Pre-colored stock uses a dyed label face, while direct thermal labels rely on heat-sensitive coating. Thermal transfer labels use a heated ribbon to apply black, white, or colored images. Some specialty labels also reveal color when heated, but their response can fade under sunlight. That difference matters. Smithers’ The Future of Global Labels and Labeling to 2028 forecasts label demand growth of about 3% annually, increasing pressure for faster, clearer identification.
Start with the printing method. Direct thermal printing suits short-term shipping, queue, and event labels. It needs no ribbon, but heat and abrasion can darken the image. Thermal transfer printing usually gives stronger durability. It works better for storage bins, outdoor handling, and repeated scanning. Grand View Research valued the global thermal printing market at approximately US$46.2 billion in 2022 and projects about 5.8% annual growth through 2030.
Color choice needs practical testing. Place a sample beside scanners, stretch the label, and rub it with a gloved finger. Check contrast after refrigeration and heat exposure. A bright background may look attractive but reduce barcode readability. I once underestimated adhesive performance on textured cartons. That was a costly reminder. Also confirm core size, roll direction, liner release, and printer temperature before ordering. Small mismatches can stop an otherwise suitable label line.

Match Label Color and Contrast to Scanning and Reading Needs
7 Tips for Choosing Colored Thermal Labels
Match Label Color and Contrast to Scanning and Reading Needs
Choose dark print on a light label whenever possible. Black ink on white, yellow, or pale blue usually gives scanners a cleaner signal. Avoid red, green, or orange backgrounds behind black barcodes. Their appearance changes under warehouse lighting.
Check contrast with a calibrated verifier, not only your eyes. ISO/IEC 15416 grades one-dimensional barcode quality from 0 to 4, measuring contrast, defects, and quiet zones. For human-readable text, WCAG 2.2 uses a 4.5:1 contrast ratio as a useful readability benchmark, although it was not created specifically for labels. Keep barcode colors consistent across batches. Test the label after heat exposure, abrasion, and storage. Thermal surfaces can darken unevenly.
Match color to the user’s task. Use pale colors for dense text and bright colors for quick location cues. Reserve strong color differences for genuinely different workflows. Check scanners from normal working distances. A label that reads at a desk may fail on a moving carton. I once approved a blue label that looked excellent indoors, but it weakened near a loading door. That mistake was avoidable. Recheck contrast under fluorescent, LED, and low-light conditions. Measure printed samples from each supplier and production lot. Small color shifts can matter. Make the quiet zone visibly clear around every barcode. Ensure text remains readable when labels wrinkle, tilt, or become dusty.
Choose the Right Size, Shape, and Adhesive for Each Application
Choosing Colored Thermal Labels
Choosing colored thermal labels starts with the object, not the color. Measure the label area and leave a small margin for edges and sensors. A 40 x 30 mm label may suit a small vial, while cartons need larger fields. Test the roll inside your printer before ordering. Measure twice. I once selected a size that looked right on screen, but its gap shifted during feeding. The mistake caused wasted labels and slower packing.
Shape affects scanning, readability, and placement. Rectangles provide space for barcodes and two lines of text. Round labels work well for lids, samples, and short identifiers. Narrow labels fit cables, tubes, or shelf edges, but they limit font size. Keep critical information away from curved edges. A label can adhere perfectly and still fail if the code bends or fades at the wrong angle. Use a sample print under actual lighting, not only on a desk.
Adhesive should match the surface and environment. Permanent adhesive suits clean, dry cartons that should not be relabeled. Removable adhesive may be safer for reusable bins, glass, or temporary inventory. For cold storage, dusty plastic, or condensation, test adhesion after several hours. Check whether the label peels cleanly or leaves residue. Color can separate workflows, but it should not replace readable text or a clear coding rule. Record the test conditions, even if they seem minor.
Evaluate Durability, Material Quality, and Environmental Resistance
Durability begins with the label’s daily environment, not its appearance. During warehouse trials, I check whether edges lift after repeated handling. A label that looks strong may still fail around corners.
Choose a material that matches the surface. Coated paper works for clean, dry shelves. Synthetic films perform better on plastic bins, curved containers, and frequently touched equipment. Check the adhesive, too. Strong adhesion can become weak on dusty, cold, or textured surfaces. Ask for material specifications, not vague quality claims. Test a small batch before ordering thousands.
Environmental resistance needs practical testing. Expose samples to condensation, heat, sunlight, and light abrasion. For refrigerated storage, apply labels to cold surfaces rather than room-temperature ones. For outdoor use, inspect color fading after UV exposure. Thermal printing can also change under heat or friction, so rub printed samples with a dry cloth. Small details matter.
Do not ignore storage conditions. Humidity can affect both the label stock and print clarity. Keep unused rolls sealed and away from direct sunlight. I once focused too much on color consistency and overlooked adhesive residue. That mistake delayed packing work. A better evaluation includes readability, peeling, curling, smearing, and removal damage. Compare results after several days, not just immediately after application. Supplier test data helps, but your own site conditions remain the most reliable reference.
Compare Printer Compatibility, Costs, and Supplier Reliability
7 Tips for Choosing Colored Thermal Labels
Compare printer compatibility before comparing colors. Check the printer’s supported label width, roll diameter, core size, and heat settings. Test one roll first. A label may look perfect but print unevenly when the coating reacts poorly to heat. Confirm whether your printer uses direct thermal or thermal transfer technology. Colored stock can also change darkness and barcode clarity. Ask for a printed sample containing small text, dense codes, and a pale background.
Measure the real cost, not only the price per roll. Include wasted labels, replacement ribbons, storage space, and slower printing. A cheaper roll is not cheap if edges curl or adhesive fails. Check shelf life and storage requirements, especially for warehouses with heat or humidity. Compare order minimums and delivery charges. I once focused on unit price and missed the cost of frequent reprints. That mistake was avoidable.
Supplier reliability deserves practical testing. Request technical specifications, batch consistency records, and a clear sample approval process. Ask how quickly they handle defects and whether replacement stock is available. Review communication quality during a small trial order. Fast replies are useful, but accurate replies matter more. Confirm color consistency across repeat orders. Keep a sample from every approved batch for comparison. You may not need the most sophisticated supplier. You need one that documents changes, protects packaging, and admits problems quickly.
7 Tips for Choosing Colored Thermal Labels - Compare Printer Compatibility, Costs, and Supplier Reliability
| No. | Selection Tip | What to Check | Typical Data or Requirement | Cost Consideration | Supplier Reliability Indicator |
|---|---|---|---|---|---|
| 1 | Confirm printer technology | Match the label material with the printer’s print method. | Direct thermal labels are designed for heat-sensitive printing. Thermal-transfer printers require a compatible ribbon and coated label surface. | Direct thermal usually has a lower setup cost because no ribbon is required. Thermal transfer adds ribbon consumption but normally provides longer-lasting images. | The supplier should state the recommended print method, ribbon type if applicable, and printer temperature range. |
| 2 | Select the correct label color | Check contrast, barcode readability, and color stability. | White, yellow, red, blue, and green stocks are commonly used for visual coding. Dark backgrounds may reduce the contrast of black text and barcodes. | Colored stock commonly costs about 10%–35% more than standard white stock, depending on pigment, size, order quantity, and finish. | Request a physical color proof and verify that color batches can be matched for repeat orders. |
| 3 | Verify size and roll specifications | Compare label width, height, core diameter, roll diameter, and winding direction. | Common desktop roll cores are approximately 25–26 mm, while many industrial rolls use approximately 76 mm cores. Maximum roll diameter must fit the printer compartment. | Custom dimensions and small production runs generally increase the unit price and may require setup charges. | A dependable supplier provides a dimensional drawing, core-size tolerance, roll-count specification, and winding diagram. |
| 4 | Evaluate durability requirements | Consider heat, moisture, sunlight, abrasion, chemicals, and storage duration. | Standard direct thermal media is often best for short-term indoor use. Synthetic facestock or thermal-transfer media is more suitable for moisture, abrasion, and long-term identification. | Synthetic or protective-coated labels can cost roughly 25%–100% more than standard paper labels, depending on construction and order volume. | Ask for documented resistance-test results or application samples under the actual operating conditions. |
| 5 | Compare total cost per usable label | Include material, ribbon, freight, waste, setup, and replacement costs. | For standard roll labels ordered in volume, paper colored labels may commonly fall around USD 0.02–0.08 per label; specialty constructions can be higher. | Calculate cost per accepted label rather than price per roll. Poor die-cutting, adhesive failure, and print defects can raise the effective cost. | Suppliers should provide a clearly itemized quotation with minimum order quantity, tooling or plate fees, shipping terms, and reorder pricing. |
| 6 | Test adhesive performance | Test adhesion on cardboard, plastic, glass, metal, and curved surfaces. | Permanent, removable, freezer-grade, and high-tack adhesives behave differently. Surface cleanliness, temperature, and application pressure affect performance. | Specialty adhesives may add approximately 15%–50% to label cost compared with general-purpose permanent adhesive. | A reliable supplier supplies adhesive specifications, application-temperature guidance, and samples for compatibility testing. |
| 7 | Assess quality control and delivery capability | Review consistency, lead time, packaging, complaint handling, and production capacity. | Useful benchmarks include roll-count accuracy, clean die cuts, consistent color, readable print quality, and on-time delivery performance above 95%. | Lower quoted prices may not compensate for emergency freight, production downtime, or rejected batches. | Look for documented inspection procedures, batch traceability, retained samples, a stated replacement policy, and realistic repeat-order lead times. |
Note: Cost ranges are typical purchasing benchmarks for standard roll labels and vary by material, dimensions, order volume, customization, region, and shipping terms. Always validate printer performance and adhesive suitability with production samples.
Article Source:
Contact Us
Phone: (650) - 522-4653 (GOLF)
Fax: (650) 522-7511
Tee Time Reservations: (650) 522-4653 (GOLF)
Location
1700 Coyote Point Drive
San Mateo, CA 94401